
Preserving Autumn's Bounty: A Guide to Crafting Homemade Applesauce from Orchard to Pantry

Embarking on a memorable trip to the apple orchard with four kids resulted in a bountiful harvest of nearly 110 pounds of apples.
With such a surplus, the question arose: What shall we do with all these apples? The answer was clear—transform them into delicious homemade applesauce! In this article, we will share our journey of turning nature's gift into 47 quarts of flavorful applesauce. Join us as we delve into the process and discover the joy of preserving this autumn delight, ensuring a plentiful supply for the next two years.
Recipe: Homemade Applesauce

Ingredients:
- - 110 pounds of apples (variety of your choice)
- - Water
- - Sugar (optional)
- - Cinnamon (optional)
Instructions:
1. Prepare the apples:
- Wash the apples thoroughly to remove any dirt or residue.
- Core and peel the apples, discarding the stems, seeds, and peels.
- Cut the apples into chunks or slices, removing any bruised or damaged areas.

2. Cook the apples:
- Place the apple chunks/slices into a large pot or Dutch oven.
- Add enough water to cover the bottom of the pot, about half an inch deep.
- Set the pot over medium heat and bring the water to a gentle simmer.
- Cover the pot and allow the apples to cook for approximately 20-30 minutes until they become soft and tender.

3. Blend the apples:
- Once the apples are soft, use a potato masher, immersion blender, or a food processor to puree the cooked apples until desired consistency is reached.
- For a chunkier texture, use a potato masher or pulse the applesauce briefly in a food processor.
- For a smoother texture, blend the applesauce thoroughly using an immersion blender or a regular blender.

4. Sweeten and spice (optional):
- Taste the applesauce and decide if you'd like to add sweetness or a hint of spice.
- If desired, add sugar to taste, stirring well to incorporate it into the applesauce.
- For a delightful touch of warmth, sprinkle in a pinch of cinnamon and stir gently.
5. Preserve the applesauce:
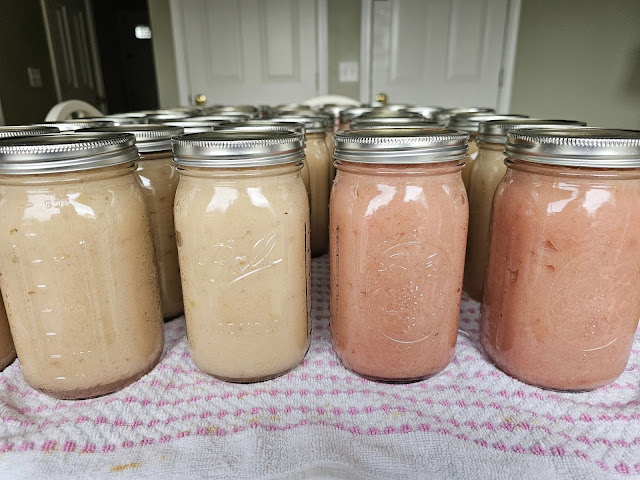
- Ladle the hot applesauce into clean, sterilized quart-sized jars, leaving about 1/2 inch of headspace.
- Wipe the jar rims clean with a damp cloth to ensure a proper seal.
- Place the lids and rings on the jars, tightening them securely.
6. Process the jars:
- Using a water bath canner, process the filled jars for 20 minutes in boiling water.
- Ensure the water level covers the jars by at least 1 inch.
- After processing, carefully remove the jars from the canner and place them on a towel-lined countertop to cool.

7. Store and enjoy:
- Once the jars have cooled, check the seals by pressing the center of each lid. If it doesn't flex, the seal is secure.
- Label the jars with the date and store them in a cool, dark place.
- The applesauce will be ready to enjoy immediately, but the flavors will continue to develop over time.

Transforming an abundant apple harvest into 47 quarts of homemade applesauce was undoubtedly a feat worth celebrating.
From the joyous adventure at the orchard to the rewarding process of cooking and preserving, this journey allowed us to savor the autumn flavors all year round. With a simple recipe, a dash of creativity, and a little effort, we transformed nature's gift into a pantry staple that will last for two years. So, gather your apples and embark on your own applesauce-making adventure. Let the delightful aroma fill your kitchen and relish in the satisfaction of preserving the essence of the season in each jar. Cheers to homemade goodness and the joy of savoring the fruits of your labor!


Comments