Unlocking the Secret of Homemade Butter: A Mason Jar Revelation
Discover the delightful world of homemade butter, where a simple ingredient and a mason jar can transform into a creamy and flavorful spread that surpasses store-bought varieties.
Join us as we delve into the fascinating process of making butter from scratch using just heavy whipping cream and a quart-sized mason jar. Prepare to be amazed at how easy it is to create your own butter and elevate your culinary creations with this homemade delight. Read on to learn the step-by-step process and unlock the secrets of homemade butter.
Ingredients:
- - Heavy whipping cream (as desired)
Instructions:
1. Fill the mason jar:
- Pour the heavy whipping cream into a clean quart-sized mason jar, filling it about halfway or three-quarters full. Leave some room for the cream to move and agitate as you shake the jar.
2. Start shaking:
- Securely close the lid of the mason jar, ensuring it is tightly sealed.
- Begin shaking the jar vigorously. The key is to keep shaking consistently and with enough force to agitate the cream.
3. Shake it, shake it, shake it:
- Continue shaking the jar for several minutes. You will hear the cream sloshing around, and it will gradually transform during the process.
4. Observe the changes:
- After a few minutes of shaking, the cream will thicken, and you will notice it transforming into whipped cream. Keep shaking!
5. The magic of separation:
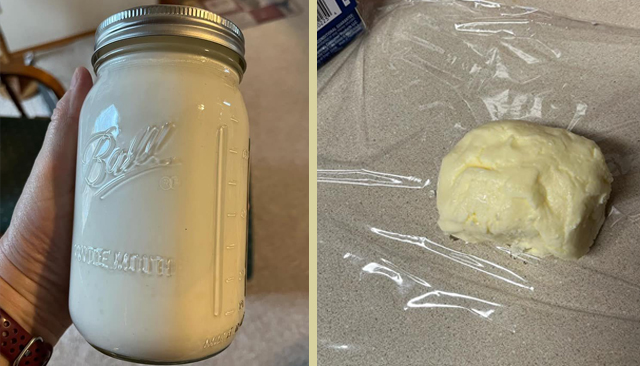
- As you keep shaking, the whipped cream will suddenly separate into butter and buttermilk. You will see a yellowish clump forming, which is the butter, and a liquid, which is the buttermilk.
6. Strain the buttermilk:
- Place a sieve or cheesecloth over a bowl and carefully pour the contents of the mason jar into it. The buttermilk will strain through, leaving you with the butter.
7. Rinse the butter (optional):
- Rinse the butter under cold water to remove any remaining buttermilk. This step helps to improve the butter's shelf life and prevent it from spoiling quickly.
8. Shape and store:
- If desired, shape the butter into a block or roll using clean hands or a butter mold.
- Place the butter in a covered container or wrap it in wax paper, parchment paper, or plastic wrap.
- Store the homemade butter in the refrigerator, where it will solidify and be ready to use.
Who would have thought that something as simple as heavy whipping cream and a mason jar could yield such a delectable homemade butter?
This easy and rewarding process allows you to take control of your butter's quality, flavor, and freshness. Spread it on warm bread, melt it over steaming vegetables, or use it in your favorite recipes to elevate their taste and texture. Embrace the joy of creating your own butter and savor the satisfaction of knowing that a dollop of homemade goodness is just a shake away. So, grab your mason jar and embark on this delightful journey to homemade butter bliss.


Comments