

Canned Cheese Delights: Preserving Colby & Cheddar Goodness for Culinary Creations

When it comes to preserving food, we often think of fruits, vegetables, and jams. But did you know that you can also can cheese? In this article, we'll explore the fascinating world of canning Colby and Cheddar cheese. Join us as we follow a cheese enthusiast's journey in canning 16 pints of this beloved dairy delight. Discover a simple yet effective recipe and learn how canned cheese can be a versatile addition to your culinary creations.
Why Can Cheese? The Benefits of a Well-Stocked Pantry
Canning cheese at home is a time-honored preservation method that offers incredible convenience. Imagine reaching into your pantry and pulling out a jar of rich, melty Cheddar or Colby whenever a recipe calls for it — no last-minute grocery runs, no worrying about mold. Properly canned cheese can last for months (sometimes years) in a cool, dark space, making it a fantastic staple for preppers, home cooks, and anyone who loves a well-organized pantry.
Beyond convenience, canning cheese lets you take advantage of bulk buying. When cheese goes on sale, you can stock up and preserve it yourself. It's also a wonderful way to reduce food waste — no more forgotten blocks of cheese going bad in the fridge.
Recipe: Canned Colby/Cheddar Cheese
🧾 Ingredients
- Colby or Cheddar cheese (block or already shredded)
- Sterilized canning jars (pint size recommended)
- Vinegar (for wiping the rims)
- Water (for the water bath)
Step-by-Step Instructions
-
Prepare the cheese: Start by breaking the Colby/Cheddar cheese into small chunks. If using a block of cheese, cut it into manageable pieces that will fit into the canning jars.
-
Fill the jars: Take the sterilized canning jars and fill them with the cheese chunks, leaving about ½ inch of headspace at the top. Pack the cheese tightly, ensuring there are no large gaps.
-
Microwave the jars: Place one jar at a time in the microwave and heat for 1 minute. This step helps the cheese melt slightly, allowing it to settle and fill any gaps. After microwaving, you may need to add more cheese to fill any voids, pressing it down to ensure even distribution.
-
Wipe the rims and seal: Using a cloth or paper towel dampened with vinegar, wipe the rims of the jars to remove any cheese residue or oils. This ensures a clean seal. Place the lids and rings on the jars, tightening the rings just until they are finger-tight.
-
Water bath canning: Prepare a boiling water bath canner and place the filled jars into the canner, ensuring they are fully submerged. Process the jars in the water bath for 20 minutes, adjusting the processing time based on your altitude.
-
Cool and store: After the processing time is complete, carefully remove the jars from the canner and let them cool on a heat-resistant surface. As the jars cool, you may hear the satisfying "pop" sound of the lids sealing. Once cooled, label the jars with the date and store them in a cool, dark place.
Important safety note: Always follow tested canning guidelines for your altitude. If you're new to water bath canning, review the USDA Complete Guide to Home Canning. Never use jars that are cracked or have chipped rims, and always check that lids have sealed properly before storing.
Usage and Storage: Endless Culinary Possibilities
Canned Colby/Cheddar cheese can be a convenient and versatile addition to your culinary endeavors. Here are some of our favorite ideas for using your canned cheese:
🍝 1. Mac and Cheese
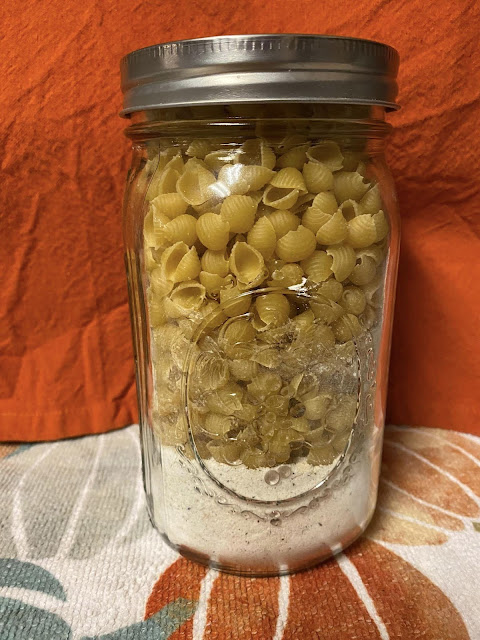
Use the canned cheese to create a delicious homemade mac and cheese. Simply heat the canned cheese in a saucepan until melted and combine it with cooked pasta for a quick and creamy meal.
🍲 2. Cooking and Baking
Incorporate the canned cheese into recipes that call for melted cheese, such as casseroles, soups, and baked dishes. It adds a rich and cheesy flavor to your creations.
🧀 3. Grating and Slicing
While the texture of canned cheese may differ slightly from fresh cheese, you may find that it can still be grated or sliced. Experiment with small amounts to see what works for you.
🥪 4. Quick Snacks
Spread canned cheese on crackers or bread for an instant, savory snack. It also makes a great addition to a charcuterie board when you're short on time.
Canning Colby/Cheddar cheese opens up a world of possibilities in preserving and extending the shelf life of this beloved dairy delight. With a simple recipe and a few canning techniques, you can enjoy the convenience of having cheese readily available for your favorite dishes. From creamy mac and cheese to flavorful casseroles, canned cheese can add a touch of cheesy goodness to your culinary creations. So, grab your cheese, sterilize those jars, and embark on a cheesy canning adventure that will elevate your dishes to new heights.
Frequently Asked Questions About Canning Cheese
How long does home-canned cheese last?
When properly processed and stored in a cool, dark place, canned cheese can last up to 1–2 years. Always check the seal before use and inspect for any signs of spoilage.
Can I use any type of cheese for canning?
Colby and Cheddar are the most popular choices because they melt well and have a firm texture. Harder cheeses generally can better than soft or high-moisture cheeses.
Is it safe to can cheese at home?
Yes, when using a tested recipe and proper water bath canning techniques. However, always follow safety guidelines from a trusted source like the USDA or a university extension office.
🍎 Ready to Start Your Canning Adventure?
Stock up on jars, grab your favorite Colby or Cheddar, and experience the joy of a pantry filled with homemade goodness. Your future self — and your dinner table — will thank you.
Get More Preserving Recipes →









Comments