
Savor the Simmer: Mastering the Art of Homemade Chicken Stock for Flavorful Culinary Creations.

Chicken stock is a foundational ingredient in countless recipes, adding depth, richness, and a savory touch to a wide range of dishes.
While store-bought options are readily available, there's nothing quite like the flavor and quality of homemade chicken stock. In this article, we'll delve into the art of crafting your own liquid gold, sharing tips, techniques, and a step-by-step recipe to help you create a flavorful and versatile stock that will elevate your culinary creations to new heights. Join us as we explore the world of homemade chicken stock and uncover the secrets to its deliciousness.
Liquid Gold: The Art of Crafting Homemade Chicken Stock
Chicken stock is a culinary superhero, capable of transforming a simple dish into a masterpiece. While store-bought chicken stock can serve its purpose, crafting your own homemade version takes the flavor and quality to a whole new level. Not only does homemade chicken stock provide a delicious base for soups, sauces, and stews, but it also allows you to control the ingredients, resulting in a healthier and more customized end product. In this article, we'll guide you through the process of making homemade chicken stock, sharing our tips, techniques, and a flavorful recipe that will have you reaping the rewards of liquid gold in your kitchen.
Recipe: Homemade Chicken Stock
Ingredients:
- - 1 whole chicken (approximately 4-5 pounds), or chicken parts (such as backs, necks, or wings)
- - 2 large onions, quartered
- - 3 carrots, roughly chopped
- - 3 celery stalks, roughly chopped
- - 4 cloves of garlic, smashed
- - 1 bay leaf
- - 10-12 sprigs of fresh parsley
- - 1 teaspoon whole black peppercorns
- - 2 teaspoons salt (adjust to taste)
- - Water
Instructions:
1. Prepare the Chicken:
- Rinse the chicken under cold water and remove any giblets or excess fat.
- If using a whole chicken, you can quarter it for easier handling.
2. Start the Stock:
- In a large stockpot, place the chicken (or chicken parts) and cover it with enough water to fully submerge the chicken.
- Bring the water to a boil over high heat, skimming off any foam or impurities that rise to the surface.
- Reduce the heat to low and let the stock simmer gently.
3. Add the Aromatics:
- Add the onions, carrots, celery, garlic, bay leaf, parsley, peppercorns, and salt to the pot.
- Stir the ingredients to distribute them evenly.
4. Simmer and Skim:
- Allow the stock to simmer over low heat, partially covered, for about 2-3 hours.
- Throughout the cooking process, skim off any foam or fat that accumulates on the surface using a large spoon or ladle.
5. Strain the Stock:
- Once the stock has simmered, carefully remove the chicken and aromatics using a slotted spoon or tongs.
- Set a fine-mesh strainer or cheesecloth-lined colander over a large bowl or another pot.
- Pour the stock through the strainer to remove any solids and impurities, resulting in a clear and flavorful liquid.
6. Cool and Store:
- Allow the stock to cool to room temperature.
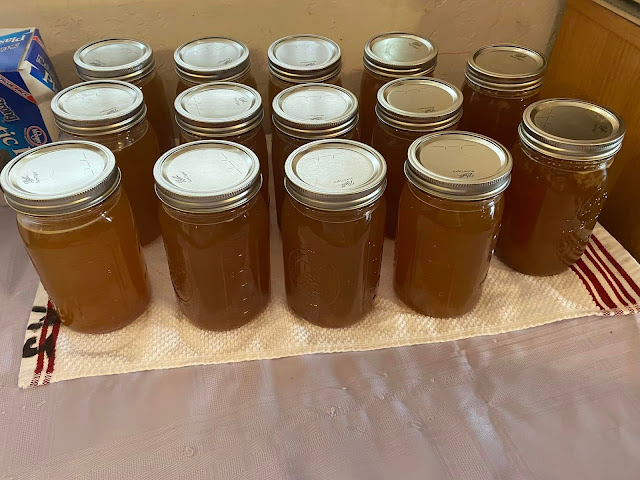
- Once cooled, transfer the stock to airtight containers, such as Mason jars or freezer-safe containers.
- Label the containers with the date and contents and store them in the refrigerator for up to 5 days or freeze them for longer storage.

Homemade chicken stock is a kitchen essential that acts as a flavor enhancer and foundation for countless recipes.
By taking the time to craft your own liquid gold, you'll be rewarded with a rich, flavorful stock that elevates your dishes to new heights. With the flexibility to control the ingredients and customize the flavors, homemade chicken stock allows you to add your personal touch to every culinary creation. So, embrace the art of crafting your own stock and unlock the magic and deliciousness of homemade liquid gold in your kitchen.


Comments
Why wouldn't you post the canning process with this recipe, instead of just refrigerating or freezing?
ReplyDeleteCould you can this instead of freezing?
ReplyDeleteI canned my chicken broth in my electric canner and turned out great for 75 min as had chicken meat in it
ReplyDelete